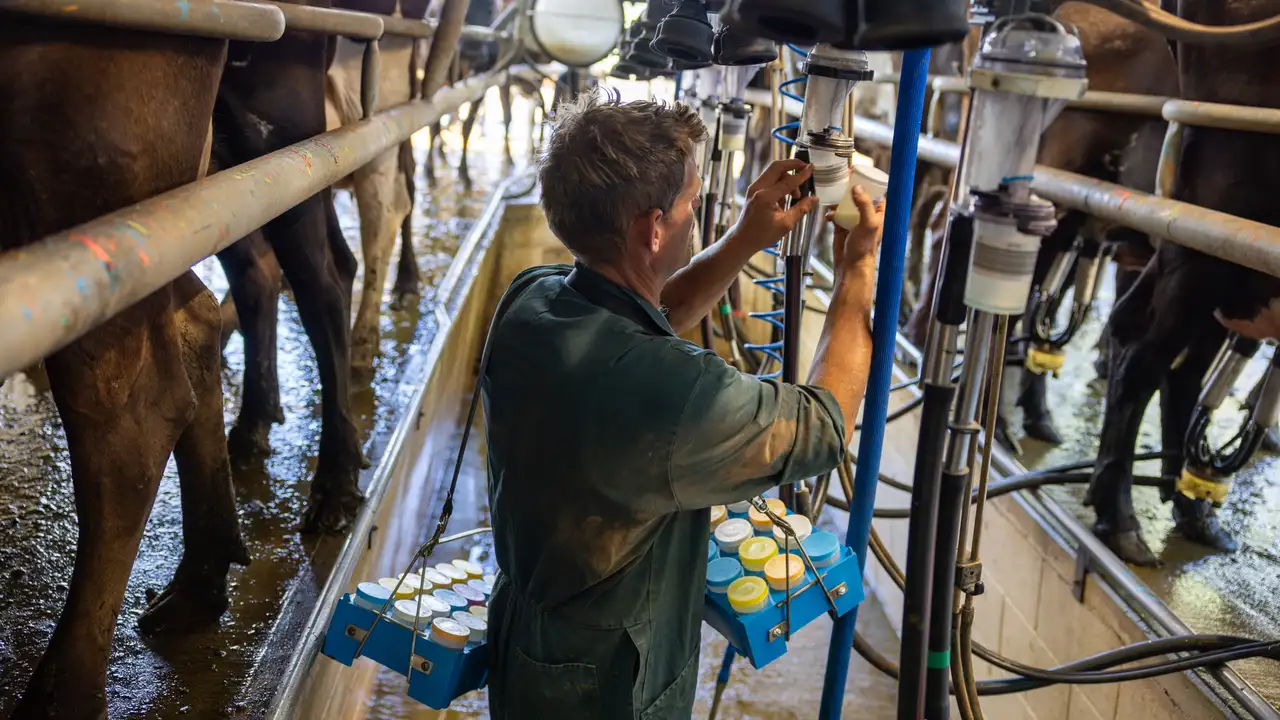
Probable Vacuum Leaks:
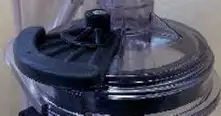
Check the air admission flap is closed by pressing down to close the hole where air is entering. If it does not seal, replace the milk meter and add a 'faulty meter' tag.
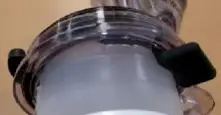
Check the sample flask is placed firmly in the flask seal of the meter. If not, remove the flask and re-insert.
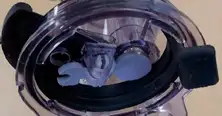
Check the flask seal is positioned correctly in the meter. If not, remove the flask seal and reposition correctly.
Claw Air Admission:
Check the air admission hole on the claw is not blocked; low air admission to the claw will stop the even distribution of milk inside the meter, causing erratic results.
Sample Flask and Meter Flooding:
Ensure the rubberware is set-up correctly. The rubber from the cups needs to be connected to the inlet tube of the meter, and the outlet rubber from the meter should be connected to the milk line.
The Importance of Clean Equipment
Foreign objects on flasks can impact the measured weight of flasks (volume inaccuracy) and introduce health and safety issues. Dirty trays can pose cleaning challenges of the flasks (dirty equipment in, dirty equipment out).
If herd tested equipment is not cleaned to suitable standard or trays are dirty when collected from farm a cleaning fee of $195 (plus GST) will be charged.
Five easy steps to follow so equipment is clean for the next farmer's shed.
Step 1.
Place empty flasks on all the meters and run your normal hot wash cycle.
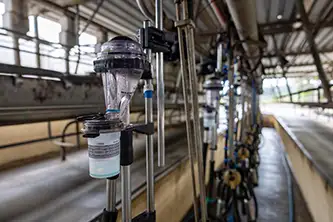
Step 2.
When the wash is complete, remove the rubberware and take the meters down.
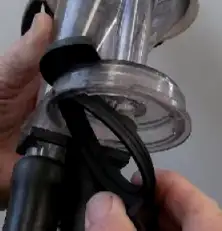
Step 3.
Remove the flask seals from the meters, wash, and leave in the bucket provided.
Step 4.
Wash the meters, rubberware, and any other herd test equipment left on farm.
Step 5.
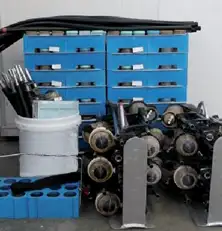
Leave all the equipment in a clean space in either the dairy or the office ready for collection. Store samples in a clean, cool dark place away from the chiller unit or compressors etc.
Vacuum
The installation of milk meters can reduce the vacuum level at the claw, by up to 3-4kPa. To get the most accurate readings the vacuum should be lifted to about 48kPa on low-lines, and to 50kPa where the milk line is above the cow.
Switch to 'constant' if available.
Sanitising Rinse
It is extremely important to put an acid sanitising rinse through your plant before and after herd testing.
This includes:
- After the herd test meters and flasks have been set up and before you start the first herd test milking.
- And again, after the herd test meters have been removed and the plant returned to normal.
Remember to also change the flasks used during the sanitising rinse cycle.
Freshwater Rinse & Detergent Residues
To ensure there is no detergent left in the lines after the sanitising rinse, use a fresh-water rinse afterward.
Suitable placement of Trays in the Dairy Shed
To ensure the integrity of the sample, it's important that samples are stored in a clean, cool, shaded area away from potential contaminants and heat sources such as machinery or direct sunlight.
All Animals Must be Tested
In accordance with the New Zealand Herd Test Regulations all animals must be tested irrespective of ownership or reasons given (abnormal codes).
